Introduction to Gimbal for iPhone
The rise of smartphone photography and videography has ushered in a new era where capturing high-quality footage is accessible to everyone, not just professionals. A crucial tool that has emerged from this trend is the gimbal, a stabilization device designed to eliminate shaky footage and provide smooth, professional-looking results. In this comprehensive guide, we will explore everything you need to know about choosing the perfect gimbal for iPhone, how to use it effectively, and tips to enhance your videography skills.
What is a Gimbal?
A gimbal is a pivoted support that allows the rotation of an object about a single axis. In the context of videography, a gimbal stabilizer helps keep your smartphone steady while filming, even when you’re moving. It typically employs motors and sensors to detect any motion and counteract it, resulting in smooth and stable footage. The three axes of stabilization—pitch, roll, and yaw—allow for dynamic movement and fluidity that enhances the overall quality of your videos.
Why Use a Gimbal for iPhone?
With smartphones like the iPhone offering advanced camera capabilities, utilizing a gimbal becomes essential for serious videography enthusiasts. Here are some compelling reasons to consider using a gimbal for your iPhone:
- Smoother Footage: A gimbal reduces the impact of hand movements, providing a steady shot which is crucial for professional looks.
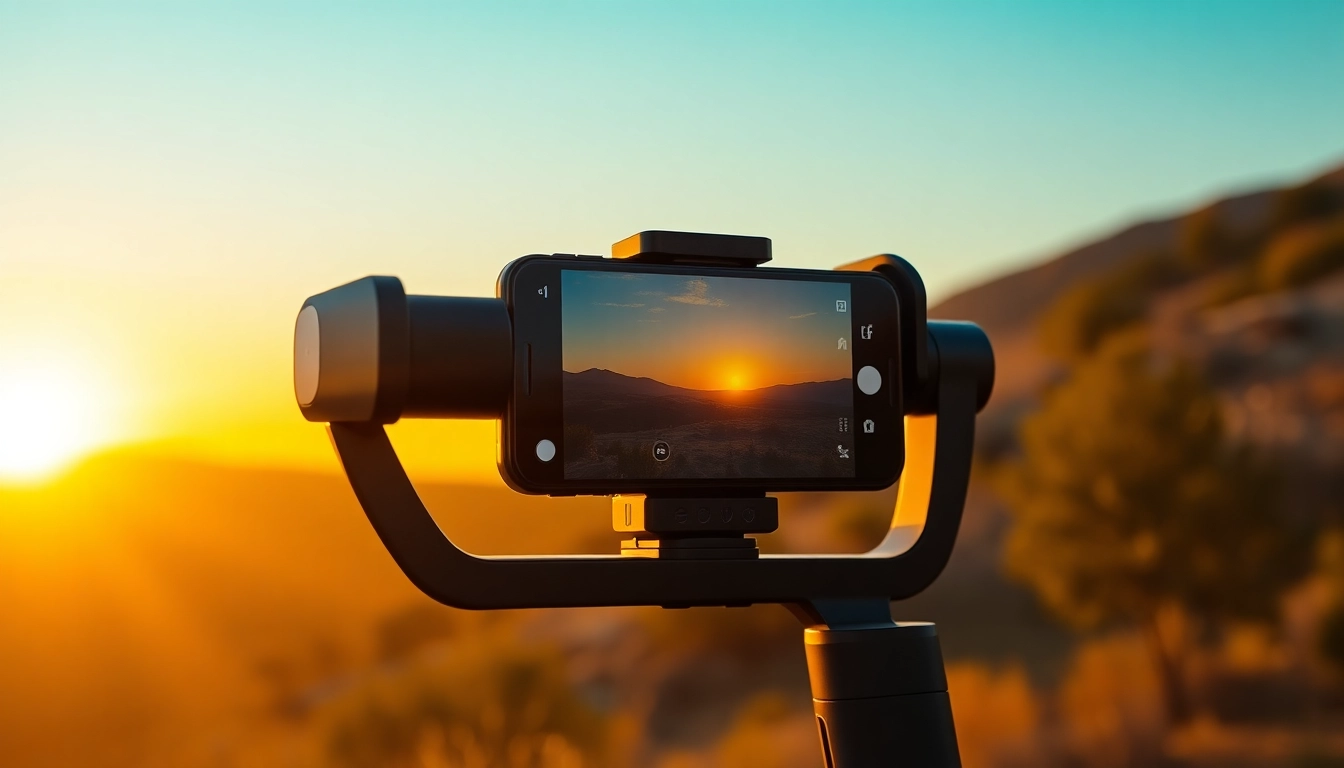
- Versatility: Gimbals are suitable for a variety of filming scenarios—walking, running, or even capturing fast-moving subjects. They allow for creative camera angles and movements that were previously only possible with cumbersome equipment.
- Improved Focus: With stabilized footage, you can concentrate on storytelling and composition without the distraction of shaky video.
- Time-Lapse and Motion Features: Many gimbals come with advanced features for time-lapse and motion tracking, which can greatly enhance your storytelling abilities.
Understanding Stabilization Technology
At the heart of every gimbal is its stabilization technology, which employs sensors to detect motion and adjust the gimbal accordingly. Most consumer gimbals use three-axis stabilization, which corrects movement along the pitch (tilt), roll (side-to-side tilt), and yaw (pan) axes. A gimbal may also feature different operating modes like follow mode, where the gimbal follows the direction of the handle movements; lock mode, where the camera stays fixed in one direction; and pan mode, where the camera pivots left and right while keeping the tilt and roll steady.
Choosing the Right Gimbal for iPhone
Selecting the right gimbal is crucial for your filming needs, as it can significantly influence the quality of your videos. Several factors should be considered when making your choice.
Factors to Consider
- Weight and Portability: If you plan to travel or shoot for extended periods, consider a lightweight and compact model that is easy to carry.
- Battery Life: Longer battery life is essential for extended shooting sessions, especially during events like weddings or concerts.
- Compatibility: Ensure the gimbal is compatible with your specific iPhone model, as size and weight can vary significantly across devices.
- Ease of Use: Look for gimbals that offer a user-friendly app and straightforward setup process, especially if you are new to videography.
Top Features to Look For
When searching for the ideal gimbal for iPhone, keep an eye out for these features:
- Built-in Follow Focus: This feature allows the gimbal to automatically adjust the focus as you move, ensuring your subject remains sharp.
- Gesture Control: Some modern gimbals offer gesture control or smart tracking, allowing for hands-free operation.
- Multiple Shooting Modes: The availability of different shooting modes—such as time-lapse, motion tracking, and panoramic shooting—can enhance creativity.
- Durable Construction: Look for gimbals made with high-quality materials that can withstand regular use, particularly outdoors.
Pricing and Budget Options
The price of gimbals can vary widely, typically ranging from under $100 to several hundred dollars. While it might be tempting to go for the cheaper options, investing in a quality gimbal can pay off by providing reliable performance and lasting durability. Consider your budget and the features necessary for your specific videography needs. Entry-level gimbals can be adequate for beginners, while professionals may prefer more advanced options with additional features.
How to Use a Gimbal for iPhone
Understanding how to effectively use your gimbal can vastly improve your videography capabilities. Below are some essential steps to follow.
Setting Up Your Gimbal
- Begin by fully charging the gimbal and your iPhone. Remove any cases that may interfere with the mounting.
- Mount your iPhone securely onto the gimbal using the provided clamp, ensuring it’s balanced for optimal stabilization.
- Turn on the gimbal and any accompanying app to familiarize yourself with the controls and available features.
Basic Techniques for Filming
Here are some fundamental techniques to keep in mind while filming:
- Practice Smooth Movements: Employ smooth and deliberate movements when filming. Avoid sudden jerks or changes in direction to maintain stability.
- Utilize Different Angles: Experiment with various angles and levels to add depth and interest to your footage.
- Walk with Confidence: When moving, keep your knees slightly bent and walk heel-to-toe to minimize bumps.
Advanced Tips for Stunning Footage
Once you have mastered the basics, try these advanced techniques:
- Incorporate Dynamic Movement: Use your body to create sweeping movements and follow your subject gracefully.
- Use Time-Lapse Wisely: Use time-lapse settings for longer events to condense time effectively, creating a dynamic story flow.
- Engage the Environment: Interact with your surroundings to enhance your narrative; showcase architecture, nature, or movement within the scene.
Comparing Popular Gimbals for iPhone
An in-depth comparison of popular gimbals can help you identify the best fit for your needs. While this guide does not endorse specific brands, it is essential to look at metrics such as performance, user feedback, and the pros and cons of each model.
Performance Metrics
Consider several performance metrics when comparing gimbals:
- Stabilization Effectiveness: Evaluate how well each gimbal stabilizes the footage under different conditions like walking or running.
- Response Time: Test how quickly the gimbal reacts to your movements—this influences the overall filming experience.
- Battery Life: Check the battery duration during continuous shooting, especially for long events.
User Reviews and Feedback
User reviews are invaluable resources for gauging real-world performance and reliability. Check forums, social media platforms, and dedicated videography communities for honest feedback. Pay attention to recurring issues, as user experiences often highlight potential problems and strengths.
Pros and Cons of Each Option
Every gimbal will have its strengths and weaknesses. Compile a list of pros and cons based on features, usability, and price in order to make an informed decision on which gimbal aligns with your needs.
Maximizing Your Gimbal for iPhone Experience
To truly unlock the potential of your gimbal for iPhone, consider complementing your setup with accessories and post-production techniques that elevate your content.
Integrating Accessories for Better Results
- Lens Attachments: Use additional lenses to expand your iPhone’s capabilities, from wide-angle shots to macro photography.
- Lighting Solutions: Good lighting can transform your footage; consider LED panels or reflectors to enhance visibility.
- Microphones: Invest in a good external microphone to capture clear audio, which is crucial for storytelling.
Editing and Post-Production Tips
Editing is just as vital as shooting; excellent footage requires skillful post-production. Here are tips to enhance your videos:
- Storytelling: Ensure your edits tell a coherent story; cut unnecessary footage and keep only impactful moments.
- Color Grading: Adjust the colors to create a unique vibe or mood that aligns with your vision.
- Use Sound Design: Incorporate sound effects, background music, and audio adjustments to enhance the viewer’s experience.
Staying Updated with New Features
The field of videography and gimbals is ever-evolving. Keep yourself updated with the latest technology and features available in new gimbals. Follow industry blogs, subscribe to YouTube channels dedicated to videography, and participate in online communities to remain in the loop.